
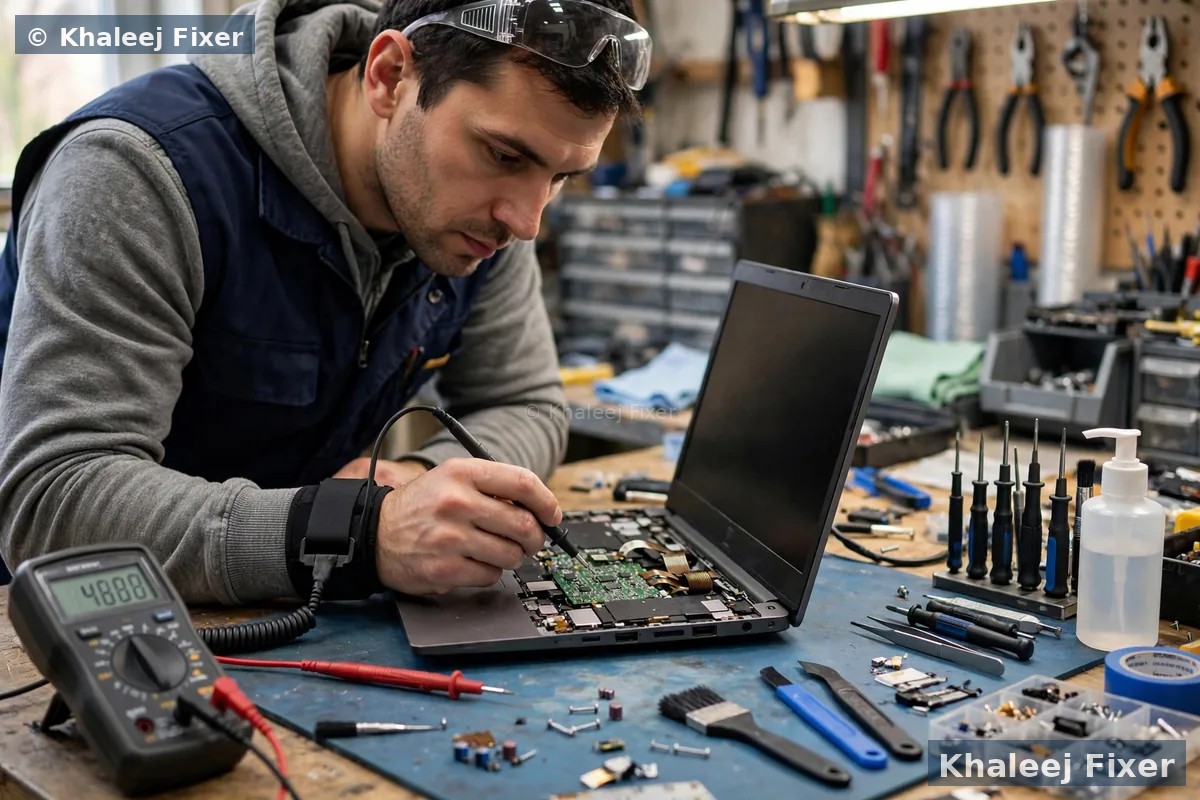
Short answer: yes, you can clean it at home
1. Shut the laptop down fully and unplug it. Wait five minutes so it cools down. Never clean a laptop that is on or sleeping.
2. Find the vents. Look along the sides, the back edge, and the bottom panel. The warm air comes out of the exhaust vent. The cool air comes in through the intake vent.
3. Use short bursts of compressed air. Hold the can upright. Blow in two or three second bursts. Aim at an angle, not straight at the fan. Pause between bursts.
4. Hold the fan still if you can see it. A toothpick or a cotton swab through the grille stops the fan from spinning freely. A fan spun fast by an air blast can be damaged.
5. Test it. Wait five minutes, switch the laptop on, and listen. The fan should be quieter and the base should feel cooler. If nothing changed, the dust is deeper inside, and the back panel needs to come off or a technician needs to look.
Why a laptop fan gets dusty in the first place
A laptop fan is a small pump for air. It pulls cool air in through the intake vents on the bottom or the sides. It pushes that air across the hot parts inside, the processor and the graphics chip. Then it pushes the warm air out through the exhaust vent. The air carries heat away. That is the whole job. When the path is clear, the fan runs quietly and the laptop stays cool.
The trouble is that air carries dust too. Every bit of air that cools the laptop also drops a little dust inside it. The dust lands on the fan blades first. Then it builds up into a soft mat on the thin fins of the heat sink, the metal block the fan blows air through. In a thin laptop the gaps between those fins are very narrow. A thin layer of dust can block them almost fully while the vents still look clean from outside.
Dubai and Sharjah make this worse. Fine desert dust is in the air all year. Summer heat pushes the cooling system harder. Many people work long hours with no break for the machine. Air conditioning adds another twist. A laptop moved from a cold office to hot outdoor air can pull in damp air, and damp dust sticks harder than dry dust. That is why a laptop in the UAE often needs cleaning more often than the same laptop in a clean, cool office elsewhere. If your laptop still runs hot after a clean, our guide on why a laptop overheats in Dubai explains the other causes, like dried thermal paste and a failing fan.
Signs your laptop fan needs cleaning
You do not need to guess. A dusty fan shows clear signs. One sign on its own may have another cause. Two or three together usually point to dust. Watch for these before you pick up a screwdriver.
The fan is loud during light work. It roars or whirs while you only browse the web or read email. The fan spins faster to make up for blocked air flow. That extra speed makes the noise. If the noise started slowly over months, dust is the likely cause. If it started suddenly with a rattle or a grind, the fan bearing may be worn instead. Our guide on laptop fan noise helps you tell the two apart.
The base and keyboard feel hot. Heat stays inside when air cannot move. The palm rest, the keyboard, and the bottom panel all feel warmer than they used to. A laptop that is warm after an hour of video calls is normal. A laptop that is too hot to keep on your lap during light browsing is not.
Weak air from the exhaust vent. Hold your hand near the vent while the fan runs. You should feel a clear stream of warm air. If you feel almost nothing, the path is blocked. Dust packed in the heat sink fins stops the air before it reaches the vent.
Slowdowns, stutters, and sudden shutdowns. When the processor gets too hot, it slows itself down to stay safe. Games stutter. Video editing lags. The laptop may shut itself off without warning. That shutdown is a safety cut out, not a random fault. It means the cooling has failed and the machine is protecting itself.
Visible dust in the vents. Shine a torch into the grille. If you see grey clumps, lint, or pet hair, the inside looks worse. Dust you can see on the outside means dust has already built up on the fan and the heat sink. Also watch the battery. A fan that runs nonstop draws more power, so the battery may drain faster than it used to. Cleaning first is the cheap test. If the battery is still weak after a clean, the battery itself may be old.
What you need before you start
Gather everything first. You do not want to hunt for a screw size with the back panel off. For the no-open clean you need very little. For the deeper clean you need a few more things.
A can of compressed air. This is the main tool. Buy a can made for electronics, with a thin straw nozzle. Keep it upright while you use it. A tilted can can spit cold liquid propellant into the laptop. That liquid can harm parts inside.
A soft brush. A small soft paint brush or a soft toothbrush works well. Use it only on the fan blades, the vent grille, and the heat sink fins. Never press hard. The fins are thin and bend easily.
A microfiber cloth. Use a dry cloth to wipe the vents and the outside of the case. A damp cloth is only for the outside plastic, never for parts inside the laptop.
A small Phillips screwdriver. Most laptop back panels use small Phillips screws. Some use Torx screws, which need a different driver. Check your model first. A magnetic parts tray or a small bowl keeps the screws safe. They are tiny and easy to lose.
Isopropyl alcohol, 90 percent or stronger. You only need this if you open the laptop and find sticky grime on the fan or the heat sink. Put a little on a cloth, never straight onto a part. Let it dry fully before you close the laptop.
A plastic spudger or an old plastic card. This helps lift the back panel without scratching the case or bending the clips. Never use a metal knife or a metal screwdriver to pry a panel open. Metal slips and cuts the board. Take a photo of the screw layout before you remove anything. It saves confusion when you put it back together.
Safety first: five rules before you touch the fan
1. Shut down fully and unplug. Save your work and shut the laptop down. Do not use sleep or hibernate. Remove the charger and every cable. If your laptop has a removable battery, take it out. If the battery is built in, unplug the charger and wait. Let the machine sit for five to ten minutes so it cools down.
2. Back up your files. Cleaning does not touch your files. But any time you open a laptop, a backup is good sense. Copy photos, documents, and work files to a USB drive or cloud storage first. It takes minutes and it removes the risk.
3. Hold the fan still. This is the rule most people miss. A fan spun fast by a jet of compressed air can damage its own bearing. It can also act like a small generator and send power back into the board. Gently stop the blades with a toothpick or a cotton swab while you blow air. Hold the hub, not the thin edge of a blade.
4. Work on a hard, clean surface. Use a table with good light. Keep drinks away. Do not work on a bed or a sofa. Soft surfaces block the vents and drop lint into the machine while you clean it.
5. Check your warranty. Opening the back panel can void the warranty on some models. If your laptop is still under warranty, check the maker policy first. If you are not sure, do the no-open clean only and leave the panel closed. A free diagnosis at our workshop is the safe route when the warranty is still active.
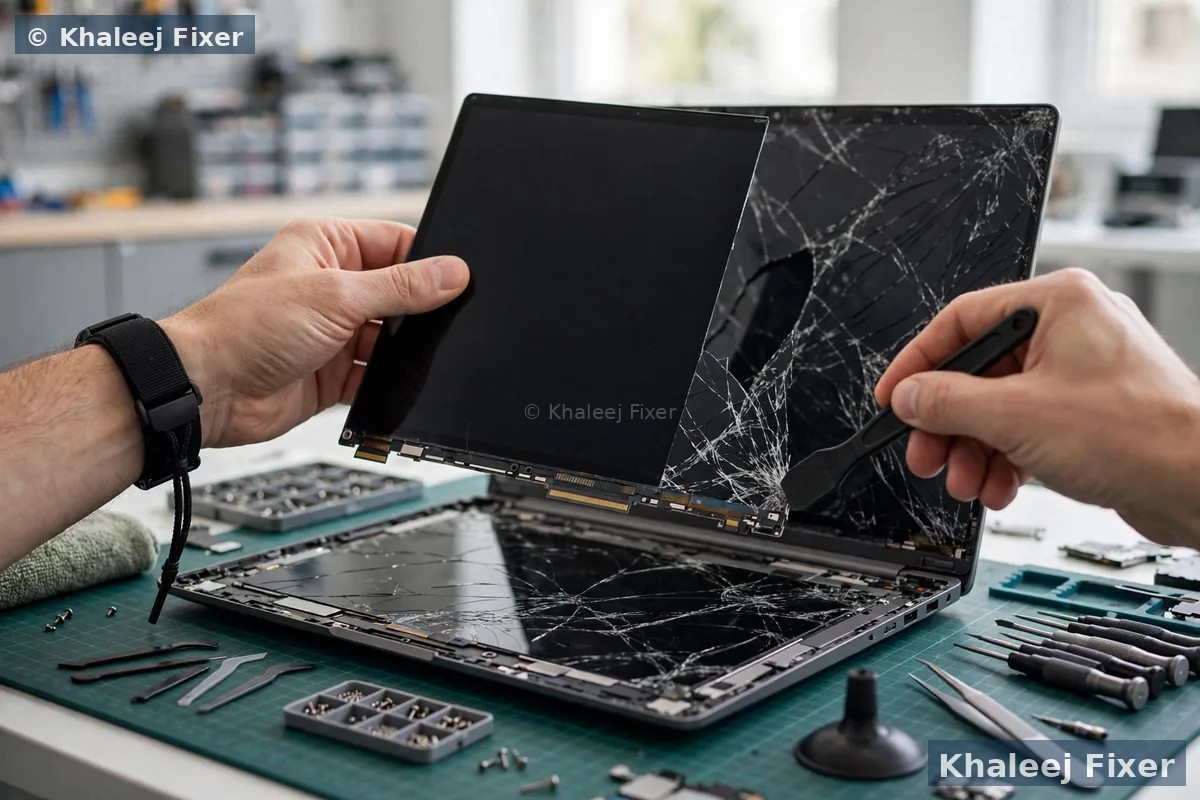
Method 1: clean the fan without opening the laptop
Start here, whatever your skill level. This method does not break any seals. It does not risk static damage to the board. And it is all that most laptops need for routine care. It will not remove dust packed deep in the heat sink, but it clears the vents and a good share of what sits on the fan. Treat it as regular maintenance.
Step 1: find the vents. The exhaust vent, where warm air comes out, is usually on a side or at the back, often under the screen hinge. The intake vent, where cool air comes in, is commonly on the bottom panel. Shine a torch into each grille and look at how much dust you can see. Note which vent looks worst.
Step 2: blow the exhaust vent first. Hold the compressed air can upright. Keep the nozzle a few centimetres back from the vent. Give two or three second bursts, with pauses between them. Aim at an angle, not straight in. Most of the dust is packed into the heat sink fins right at the exhaust. That is the blockage you are clearing.
Step 3: blow the intake vent. Now work from the other side. Blow short bursts through the intake vents on the bottom panel. Alternate between intake and exhaust so the dust moves out instead of deeper in. Then wipe the vent grilles with a dry microfiber cloth to lift the lint left on the outside. Wait five to ten minutes before you switch the laptop on. Then test it with normal work for a few minutes. The fan should be quieter and the base should feel cooler.
Method 2: clean the fan with the back panel off
Use this method when the no-open clean did not help. Or when it has been more than a year since the last clean. Or when the fan is still loud and the laptop still runs hot. Opening the laptop lets you reach the fan blades and the heat sink fins directly. That is where the caked dust sits. Take your time. Rushing is how screws get lost and clips get broken.
Step 1: remove the back panel. Turn the laptop over on a soft cloth so the case does not scratch. Remove all the screws from the back panel and keep them in a small bowl. Note that some screws hide under rubber feet or stickers. Lift the panel gently with a plastic card. Work around the edges a little at a time. Never force it. If it will not lift, check for a missed screw.
Step 2: find the fan and the heat sink. The fan is the round part with blades, usually near a vent. The heat sink is the copper or silver block with thin fins next to it. The fan cable is a thin wire that plugs into the board. Do not unplug it unless you need to remove the fan. If you do unplug it, note which way it faces so you can plug it back the same way.
Step 3: brush, then blow. Hold the fan blades still with a toothpick. Loosen the dust on the blades with the soft brush. Then give short upright bursts of compressed air across the blades. Blow through the heat sink fins from the inside out, so the dust leaves the chassis instead of going deeper. Brush the vent grille too. Wipe the panel with a dry cloth.
Step 4: clean sticky grime. If the fan or the fins have sticky dirt that air will not move, use a cloth with a little isopropyl alcohol. Wipe gently. Let it dry fully before you close the laptop. Never pour liquid onto a part. Never use water inside the laptop.
Step 5: put it back together and test. Replace the back panel and all the screws. Do not over tighten them. A stripped screw head is hard to remove later. Switch the laptop on and listen. Run a browser and a light app for a few minutes. The fan should settle down fast. If it still roars, the problem may be deeper than dust, and the next section explains why.
Brand differences: HP, Dell, Lenovo, and MacBook
Not every laptop opens the same way. Knowing your brand saves time and avoids damage. Check your exact model on the maker support site before you open anything. The support page shows the screw type and whether the battery must come out first.
HP and Dell. Most HP and Dell business laptops open with a few Phillips screws on the back panel. The fan and the heat sink sit near a side vent and are easy to reach once the panel is off. Dell support says to use compressed air only, in short bursts, with the laptop shut down and unplugged. HP support says the same, and adds that it is not necessary to open the computer to clean the vents. So start with the no-open method on these brands. Open the panel only if the noise stays.
Lenovo. ThinkPad and IdeaPad models also open with screws on the back panel, but some hide screws under the rubber feet. The fan cable is short, so do not lift the panel far before you unplug it. Lenovo publishes a hardware manual for most models. It shows the exact screw map. Use it.
MacBook. MacBooks need extra care. The back panel uses small pentalobe screws, not Phillips. The battery is glued in on many models. The fan sits close to the battery cable. One slip can puncture a battery cell. If you own a MacBook, do the no-open clean only. Leave the panel closed. Our MacBook repair in Dubai team deep cleans MacBook cooling systems every day, with the right tools and a free diagnosis first.

What NOT to do when you clean a laptop fan
Do not use a household vacuum cleaner. A normal vacuum makes static electricity. Static can damage the board and the memory chips. Strong suction can also spin the fan far faster than it was built to spin. That can wear out the bearing in seconds. If you want to catch dust as it blows out, hold a small hand vacuum a short distance from the exhaust vent, never pressed against it. Or simply blow the dust out onto a table and wipe it up after.
Do not let the fan spin freely. A long blast of air can spin the fan like a tiny windmill. The bearing takes the strain. The fan can also send a small charge back into the board. Always hold the blades still while you blow air. Short bursts, not a long blast.
Do not use a wet cloth inside. Water and cleaning sprays do not belong inside a laptop. A damp cloth is fine on the outside plastic only. Inside, use a dry brush and compressed air. If you need a liquid, use isopropyl alcohol on a cloth, in a small amount, and let it dry fully.
Do not blow air into the vents with your mouth. Breath carries water vapour and tiny drops of spit. That moisture can land on the board and cause corrosion over time. Use a can of compressed air. It is dry and it is made for this job.
Do not tilt the compressed air can. A tilted can can spray cold liquid propellant instead of air. That liquid can freeze a part or leave a residue. Keep the can upright. Pause between bursts so the can stays warm.
Do not force anything. If a screw will not turn, stop. If a panel will not lift, look for a missed screw. If a fan cable will not unplug, leave it plugged in and clean around it. Forcing a part is how a small clean turns into a board repair.
How often should you clean a laptop fan in the UAE?
There is no single answer for every laptop. It depends on where you use it and how hard you use it. The dust in Dubai and Sharjah means the schedule is shorter than in a clean office. Use this as a guide.
Every three months. Homes with pets, carpet, or smokers. Dusty workspaces and workshops. Heavy gaming or video editing every day. Laptops used on beds, couches, or pillows, where the vents sit against soft cloth and pull in lint.
Every six months. Average home or student use. Office use with normal air conditioning. This is the right interval for most people in Dubai and Sharjah. A quick external clean with compressed air takes five minutes. Do it on the first day of each season and you will not forget.
Once a year. Light use in a clean office. A laptop that mostly sits on a desk and runs light work. Even then, check the vents every six months. Dust builds up slowly and you may not notice it until the fan gets loud.
A deeper clean once a year. The no-open clean handles the vents. But once a year, the back panel should come off for a full clean of the fan and the heat sink, unless your warranty says otherwise. If you would rather not open the laptop yourself, our workshop does a full internal clean as part of a free diagnosis visit. We collect free across Dubai and Sharjah and return the laptop the same day in most cases.
When cleaning is not enough: the fan, the paste, or the board
Sometimes you clean the fan properly and nothing changes. The fan is still loud. The laptop still runs hot. The machine still shuts down. That means the cause is deeper than dust. Do not keep cleaning the same fan and hoping. Look at the next cause.
A failing fan bearing. A fan that rattles, grinds, or clicks is telling you the bearing is worn. Dust does not cause a grind. A worn bearing gets worse with time and the fan can stop without warning. A laptop with a dead fan will overheat in minutes. Fan replacement is a quick workshop job. Do not keep using a laptop whose fan has stopped.
Dried thermal paste. Thermal paste sits between the processor and the cooling plate and moves heat from one to the other. After two to three years it dries out and stops working well. The classic sign is a laptop that gets hot fast even with light work, and a fan that runs loud all the time, even after a full clean. New paste is a workshop job. The machine must come apart and go back together cleanly.
A board fault. If the fans run constantly and the laptop still runs hot after a deep clean and new thermal paste, a faulty sensor or a power part on the board may be forcing parts to run out of spec. That needs bench tools to confirm. Our laptop motherboard repair in Dubai page explains how board faults are checked at chip level. And if you want the full picture of what a repair service covers, our laptop repair in Dubai hub lists every service, from fan replacement to board repair, with free pickup across Dubai and Sharjah.
A simple cleaning routine to keep your laptop cool
The best clean is the one you actually do. Keep the routine small so it sticks. Use the laptop on a hard flat surface, never on a bed or a sofa cushion. Lift the back slightly with a stand so air flows under it. Wipe the vents with a dry cloth once a month. Blow compressed air through the vents every three to six months. Open the back panel once a year for a full clean, or let our workshop do it during a free diagnosis visit.
Watch the signs between cleans. A fan that gets louder over weeks is telling you dust is building up. A base that feels warmer than it used to is telling you the same thing. Act on the early signs and you will rarely need a repair. Ignore them and the heat will wear out the battery first, then stress the processor and the board. A five minute clean every few months is the cheapest repair you will ever do.
And if the clean does not fix it, stop guessing. Bring the laptop in for a free diagnosis. We test the fan, the paste, the battery, and the vents, and we confirm the final quote before any work starts. You can see what a repair costs on our price list page, and you can book free pickup from anywhere in Dubai or Sharjah, including Al Nahda, Al Majaz, Muwaileh, Al Qasimia, Rolla, University City, Al Taawun, and Al Khan. Our shop sits in Industrial Area 2 in Sharjah, and we are open 7 days, 11 AM to 11 PM.
Frequently Asked Questions
Can I clean my laptop fan without opening the laptop?
Yes. In many cases you can clean a laptop fan without opening the laptop by using short bursts of compressed air through the intake and exhaust vents. Shut the laptop down fully and unplug it first. Hold the can upright and blow in two or three second bursts. This is the right first step for routine care when dust buildup is light. Opening the laptop is only needed when overheating or loud fan noise continues after the external clean.
How often should I clean my laptop fan?
Most laptops need a quick external clean every three to six months. In Dubai and Sharjah, dust builds up faster, so every three months suits homes with pets, carpet, or heavy gaming use, while every six months suits average home or office use. A deeper clean with the back panel off is worth doing once a year. Clean sooner if the fan gets louder or the laptop runs hotter than it used to.
Is it safe to use compressed air on a laptop fan?
Yes, when you use it the right way. Shut the laptop down and unplug it. Hold the can upright so it does not spray liquid propellant. Use short bursts of two or three seconds, with pauses between them. Hold the fan blades still with a toothpick or a cotton swab so the fan cannot spin freely. Never use a long continuous blast, and never tilt the can while you spray.
Can I use a vacuum cleaner to clean my laptop fan?
No. Do not use a household vacuum cleaner to clean a laptop fan. A normal vacuum makes static electricity that can damage the board and other parts inside. Strong suction can also spin the fan far faster than it was built to spin, which can wear out the bearing. Use a can of compressed air instead. If you want to catch dust as it blows out, hold a small hand vacuum a short distance from the exhaust vent, never pressed against it.
Why is my laptop still hot after cleaning the fan?
If the laptop is still hot after a full fan clean, the cause is deeper than dust. The most common next causes are dried thermal paste, which stops moving heat after two to three years, and a failing fan bearing, which shows as a rattle or a grind. A board fault can also force parts to run hot. All three need a workshop check. Book a free diagnosis and the technician will test the fan, the paste, and the board, then confirm the final quote before any work starts.
Fan still loud after cleaning? Get a free diagnosis today.
Message us on WhatsApp or call. Free pickup, free diagnosis, final quote before any work, 2-month warranty.
Free Diagnosis • Free Pickup & Delivery • 2-Month Warranty • Open 7 Days 11AM to 11PM