
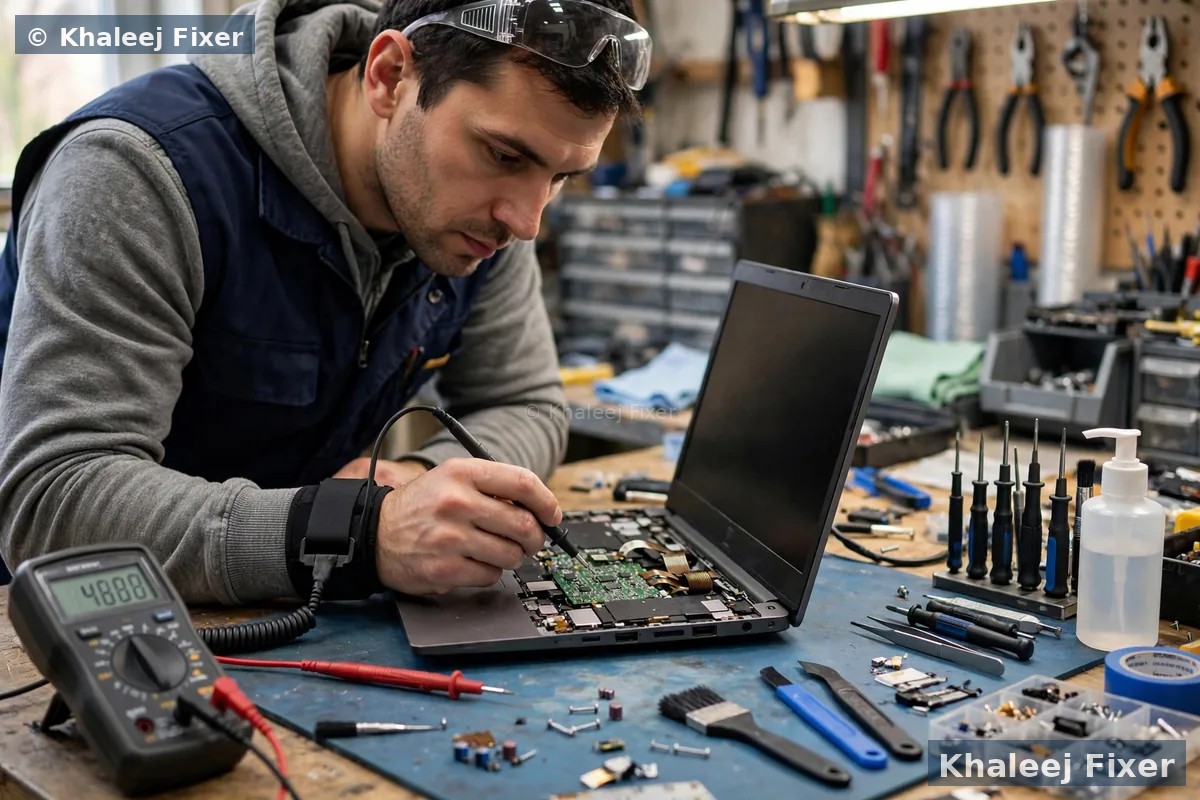
Try these first, in this order
1. Slide the privacy shutter open. Look at the small lens above the screen. Many laptops have a tiny slider or cover over it. Slide it open and test again.
2. Press the camera key. Some laptops have a key with a camera icon. Press it once. Or press Fn plus that key. The camera may be switched off at the keyboard.
3. Close other video apps. Only one app can use the camera at a time. Close Zoom, Teams, Skype, and the Camera app. Then open only the app you need.
4. Restart the laptop. A full restart clears a stuck camera session. It is the simplest fix. And it works more often than people expect.
5. Open the Windows Camera app. If the camera works there, the camera itself is fine. The fault sits in the other app. If it fails there too, work through the steps below.
What does a webcam fault look like? The signs point to the cause
A webcam fault shows up in a few clear ways. The preview is black. The app says no camera is found. The camera works in one app but not in another. The picture freezes. Or the camera light never turns on. Each sign points to a different cause. Note what you see before you start fixing. It saves time.
The small light next to the lens is a useful clue. The light turns on when an app opens the camera. If the light turns on but the picture is black, Windows can see the camera. Something is blocking the picture. A closed shutter or a wrong camera choice are the likely causes. If the light never turns on, Windows may not be reaching the camera at all. Then the cause is likely a privacy setting, a disabled device, or a driver fault.
The error message helps too. “We cannot find your camera” means Windows sees no camera. “Another app is using your camera” means a different app holds it. A black screen with no error often means a closed shutter. When you ask why your laptop webcam is not working, start with the sign you see. Then pick the fix that matches it.
Check the privacy shutter and the camera key first
Many laptops built in the last few years have a physical privacy shutter. It is a tiny slider over the lens at the top of the screen. Some laptops have a small switch on the side instead. A closed shutter gives a black picture with no error at all. The camera is fine. The lens is just covered. Look closely at the top edge of the screen. Slide the cover open until the lens is fully clear. Then test the camera again.
Next, check the keyboard. Some laptops have a camera key. It shows a small camera icon, often with a line through it. The key is often on the F8, F9, or F10 row. Press it once. On some models you must press Fn plus the key. The camera turns on or off at hardware level. If you pressed it by accident during typing, the camera stops working in every app. Press it again and test.
Also wipe the lens gently with a soft cloth. A fingerprint or a smudge on the lens can make the picture look dark or cloudy. It will not cause a black screen. But it does make the picture poor. Keep the lens clean. It is a small habit that helps on every call.
Check the Windows privacy settings: the most common fix
Windows 11 has three camera switches stacked on one page. Any one of them being off can give a black preview or a “no camera found” message. The camera can be perfect. Windows just blocks it. This is the most common cause of a laptop webcam not working on Windows 11. Check all three switches before you touch anything else.
Open Settings. Go to Privacy and security. Then click Camera. First, make sure Camera access at the top is On. This is the master switch for the whole laptop. Second, turn on Let apps access your camera. Third, scroll down and turn on Let desktop apps access your camera. Desktop apps like Zoom, Teams, and Chrome need this last switch. Without it, they cannot see the camera at all.
While you are on that page, check the list of apps below. Find the app that is failing. Make sure its own toggle is On. If you use Zoom, turn on Zoom. If you use Teams, turn on Teams. A single app toggle can be off while the rest are on. That is why the camera may work in one app and fail in another.
On Windows 10, the path is a little different. Go to Settings, then Privacy, then Camera. Turn on Allow access to the camera on this device. Then turn on Allow apps to access your camera. Then turn on Allow desktop apps to access your camera. The idea is the same. Every switch must be on.

Test the camera in the Windows Camera app
The Windows Camera app is your best test tool. It shows whether the camera works at all. Open the Start menu. Type Camera. Open the Camera app. If you see yourself on screen, the camera and the driver are fine. The fault lives inside the other app. Fix that app, not the camera.
If the Camera app shows a black screen or an error, the fault is deeper. Note the error code if one appears. The code 0xA00F4244 means Windows cannot find any camera. That points to a shutter, a disabled device, or a driver fault. Other codes point to an app holding the camera. Write the code down. It helps a technician a lot.
Close the Camera app before you test another app. The Camera app holds the camera while it is open. A second app cannot use it at the same time. This one app rule causes many false alarms. People think the camera is broken. It is only busy.
Close the app that is holding the camera
Windows treats most webcams as one app at a time. If Teams has the camera open in the background, Zoom cannot use it. You may see a black preview. Or you may see an error that says another app is using the camera. This is normal. It is not a fault. It just needs a tidy up.
Close every video app you are not using. Close Zoom, Teams, Skype, Discord, and the Camera app. Also close browser tabs that use the camera. A Google Meet tab in Chrome can hold the camera even after the call ends. Then open only the app you need. Test the camera again.
If you cannot tell which app holds the camera, use Task Manager. Press Ctrl, Shift, and Esc together. Look for Teams, Zoom, Discord, Skype, OBS, or a browser. Right click the app you do not need. Choose End task. Then open your meeting app again. If the camera works now, an app conflict was the cause. This fix takes one minute. Try it before you change any settings.
Pick the right camera in Zoom, Teams, and your browser
Many laptops show more than one camera in the list. A USB camera, a virtual camera from OBS, or an old device can sit above the built in webcam. Your meeting app may be using the wrong one. The built in camera is fine. The app just looks at the wrong device.
In Zoom, click the small arrow next to the video icon. Choose your laptop camera by name. In Teams, go to Settings, then Devices. Pick the laptop camera from the Camera list. In Chrome, click the lock or camera icon in the address bar during a Meet call. Make sure the right camera is chosen and the site is allowed to use it.
Also check the browser permission itself. A browser can block the camera for one site while it allows it for another. Open the site settings for that page. Set the camera to Allow. Then reload the page. If the camera works in the Camera app but fails in one meeting app, the choice or the permission in that app is almost always the cause. The same kind of one app fault can hit other parts of the laptop too. Our guide on a laptop WiFi not working fix shows the same test. One app fails while the rest work. That means the fault sits in that app.
Fix the driver in Device Manager
A driver is the software that lets Windows talk to the camera. If the driver is stuck, old, or broken, the camera stops working. This often happens after a Windows update. Windows may have replaced a good driver with a bad one. Or the driver may have failed during the update. The fix is quick.
First, check if Windows can see the camera at all. Right click the Start button. Choose Device Manager. Expand Cameras. On older systems the camera may sit under Imaging devices. If your camera is listed, right click it. Choose Disable device. Wait five seconds. Right click it again. Choose Enable device. This restarts the driver. Test the camera now.
If that does not work, reinstall the driver. Right click the camera in Device Manager. Choose Uninstall device. If it asks to delete the driver software, tick the box. Then restart the laptop. Windows installs a fresh driver on start up. Test the camera again in the Camera app.
If the camera stopped working right after a driver update, roll the driver back. In Device Manager, right click the camera. Choose Properties. Open the Driver tab. Choose Roll Back Driver. Then restart and test. If the camera works again, the new driver was the cause. Keep the old driver until the maker releases a fixed one. Get drivers from your laptop maker website only. Do not use random driver updater tools from the web. They can install the wrong driver and make things worse.
Reset or repair the Windows Camera app
If the camera works in Zoom but fails in the Windows Camera app, the Camera app itself may be broken. Its own files can get damaged after an update. A reset fixes that. It does not touch your files. It only resets the app.
Open Settings. Go to Apps, then Installed apps. Find Camera in the list. Click the three dots next to it. Choose Advanced options. First click Repair. Test the camera. If it still fails, click Reset. Then test again. Reset clears the app settings. You may need to allow the camera again after the reset.
Also run the Windows Camera troubleshooter. Open the Get Help app. Search for camera. Follow the steps it shows. It checks the common faults in order. It is free. And it takes only a few minutes.
Check antivirus webcam protection and Windows updates
Some security software has a webcam protection feature. It blocks apps from using the camera. That is good for privacy. But it can block your meeting app too. Open your antivirus or security app. Look for a webcam or camera protection setting. Make sure Zoom, Teams, and your browser are on the allowed list. Or turn the protection off for a test. If the camera works with it off, add your apps to the allowed list. Then turn it back on.
Next, check Windows Update. A missing update can leave a broken camera driver in place. Open Settings, then Windows Update. Click Check for updates. Install what it offers. Then look under Advanced options, then Optional updates, then Driver updates. Camera drivers often sit there unnoticed. Install any camera driver update it lists. Then restart and test.
If the camera broke right after a Windows update, the update may have changed the driver. Roll back the driver as shown above. Or check the laptop maker website for a fresh driver that matches your exact model. HP, Dell, Lenovo, and Asus all publish camera drivers on their support pages. Use the driver for your exact model number.
When the webcam fault is hardware: signs that mean a repair shop
Some webcam faults are hardware. No setting will fix them. The signs are clear. The camera is missing from Device Manager entirely. The camera does not appear even after a driver reinstall. The camera works for a minute then dies. Or the laptop was dropped or got wet before the camera stopped. These signs point to a loose cable, a dead camera module, or a board fault.
The camera cable runs through the laptop hinge. It flexes every time you open and close the lid. Over years it can wear out or work loose. A camera that fails only at some screen angles is a strong sign of a cable fault. Do not open the laptop yourself to check it. The screen and hinge parts are delicate. A wrong move can crack the screen. If your screen goes dark during the same fault, our guide on a laptop screen goes black fix shows the next test to run.
Back up your files before you hand the laptop in. A hardware repair means the laptop is opened on the bench. Copy your photos, documents, and work files to a USB drive or cloud storage first. If the laptop will not stay on long enough, get help with the copy. Our data recovery in Dubai page explains how files are read from a laptop that will not boot. A charging fault can look like a dead camera too if the laptop keeps dying mid call. Our guide on a laptop not charging fix covers that check.
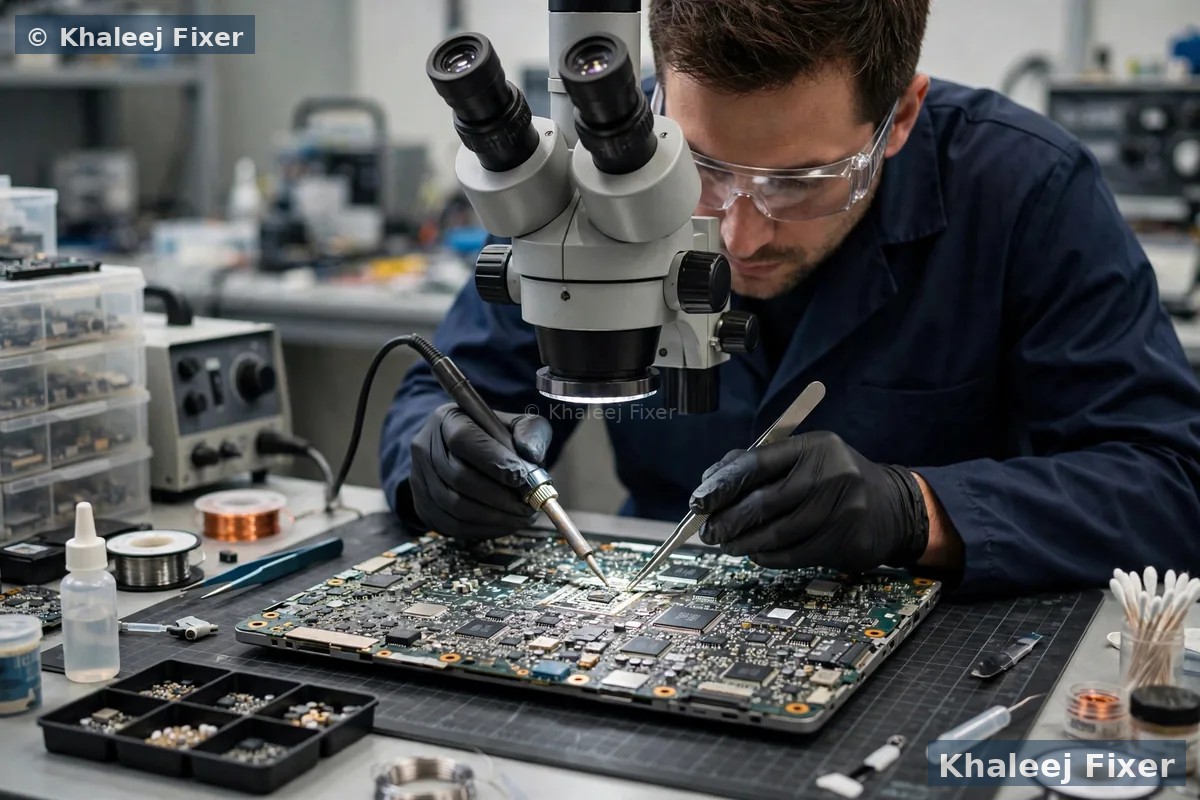
What a webcam repair involves
A repair visit starts with a free diagnosis. The technician asks when the camera stopped and what changed just before it. Then they test the camera on the bench. They check the cable, the camera module, and the board connection. Each test rules out one cause. The pattern you noted at home helps a lot here. Tell them the error code if you saw one.
Once the cause is clear, you get the final quote. No work starts without your yes. A loose cable is reseated. A dead camera module is replaced with a matching part. A driver or software fault is fixed on the bench. The repair carries a 2-month warranty. See our laptop repair in Dubai page for the full range of fixes we do.
You can bring the laptop to our shop in Industrial Area 2 in Sharjah. Or use our free pickup and delivery across Dubai and Sharjah. To see what a repair costs, use the View Price List button below. That page holds all our prices in one place.

Do not wait until the next meeting
A webcam fault rarely fixes itself. A stuck driver can get worse after the next update. A loose cable can fail fully at the worst moment. Test the camera the day before an important call. Run the quick checks above. If the camera still fails after the software steps, book a free diagnosis. A short check now saves a missed meeting later.
Keep this order in mind. Shutter and camera key first. Privacy settings second. One app at a time third. Camera app test fourth. Driver fifth. Hardware last. Work down the list and the cause will show itself. That is the whole method. And it works for most webcam faults.
Frequently Asked Questions
Why is my laptop webcam not working on Windows 11?
The most common causes are a closed privacy shutter, a camera key pressed by accident, Windows privacy settings switched off, another app holding the camera, or a faulty driver after a Windows update. Start with the shutter and the camera key. Then open Settings, then Privacy and security, then Camera, and turn on Camera access, Let apps access your camera, and Let desktop apps access your camera. Test the camera in the Windows Camera app. If it works there, the fault sits in the other app.
Why does my laptop camera show a black screen?
A black screen with no error usually means a closed privacy shutter or a camera key switched off. Check the small slider over the lens and press the camera key on the keyboard. If the shutter is open, check the Windows privacy switches and close other video apps. Only one app can use the camera at a time. If the light next to the lens turns on but the picture stays black, try another app. If the light never turns on, Windows may not be reaching the camera at all, and the driver is the next check.
Why is my webcam not detected in Zoom or Teams?
First, check that the app is using the right camera. In Zoom, click the arrow next to the video icon and pick your laptop camera by name. In Teams, go to Settings, then Devices, and pick the laptop camera from the Camera list. Second, check the Windows privacy page and make sure Let desktop apps access your camera is on, and that the app itself is switched on in the list. Third, close the Camera app and any other video app. Only one app can hold the camera at a time.
How do I fix error 0xA00F4244 “We can’t find your camera”?
Error 0xA00F4244 means Windows sees no camera at all. Check the privacy shutter and the camera key first. Then open Device Manager and look under Cameras. If the camera is listed, right click it, choose Uninstall device, and restart the laptop so Windows installs a fresh driver. If the camera is missing from Device Manager entirely, the camera may be disabled, the driver may be missing, or the hardware may have failed. A free diagnosis can confirm which one it is.
When is a webcam problem a hardware fault that needs a repair shop?
It is likely hardware when the camera is missing from Device Manager after a driver reinstall, when it works only at some screen angles, when it stops after a drop or a spill, or when the laptop was opened before and the cable was disturbed. A cable fault through the hinge is the most common hardware cause. Do not open the laptop yourself. The screen and hinge parts are delicate. Bring it in for a free diagnosis and a final quote before any work starts.
Webcam still not working? Get a free diagnosis today.
Message us on WhatsApp or call. Free pickup, free diagnosis, final quote before any work, 2-month warranty.
Free Diagnosis • Free Pickup & Delivery • 2-Month Warranty • Open 7 Days 11AM to 11PM